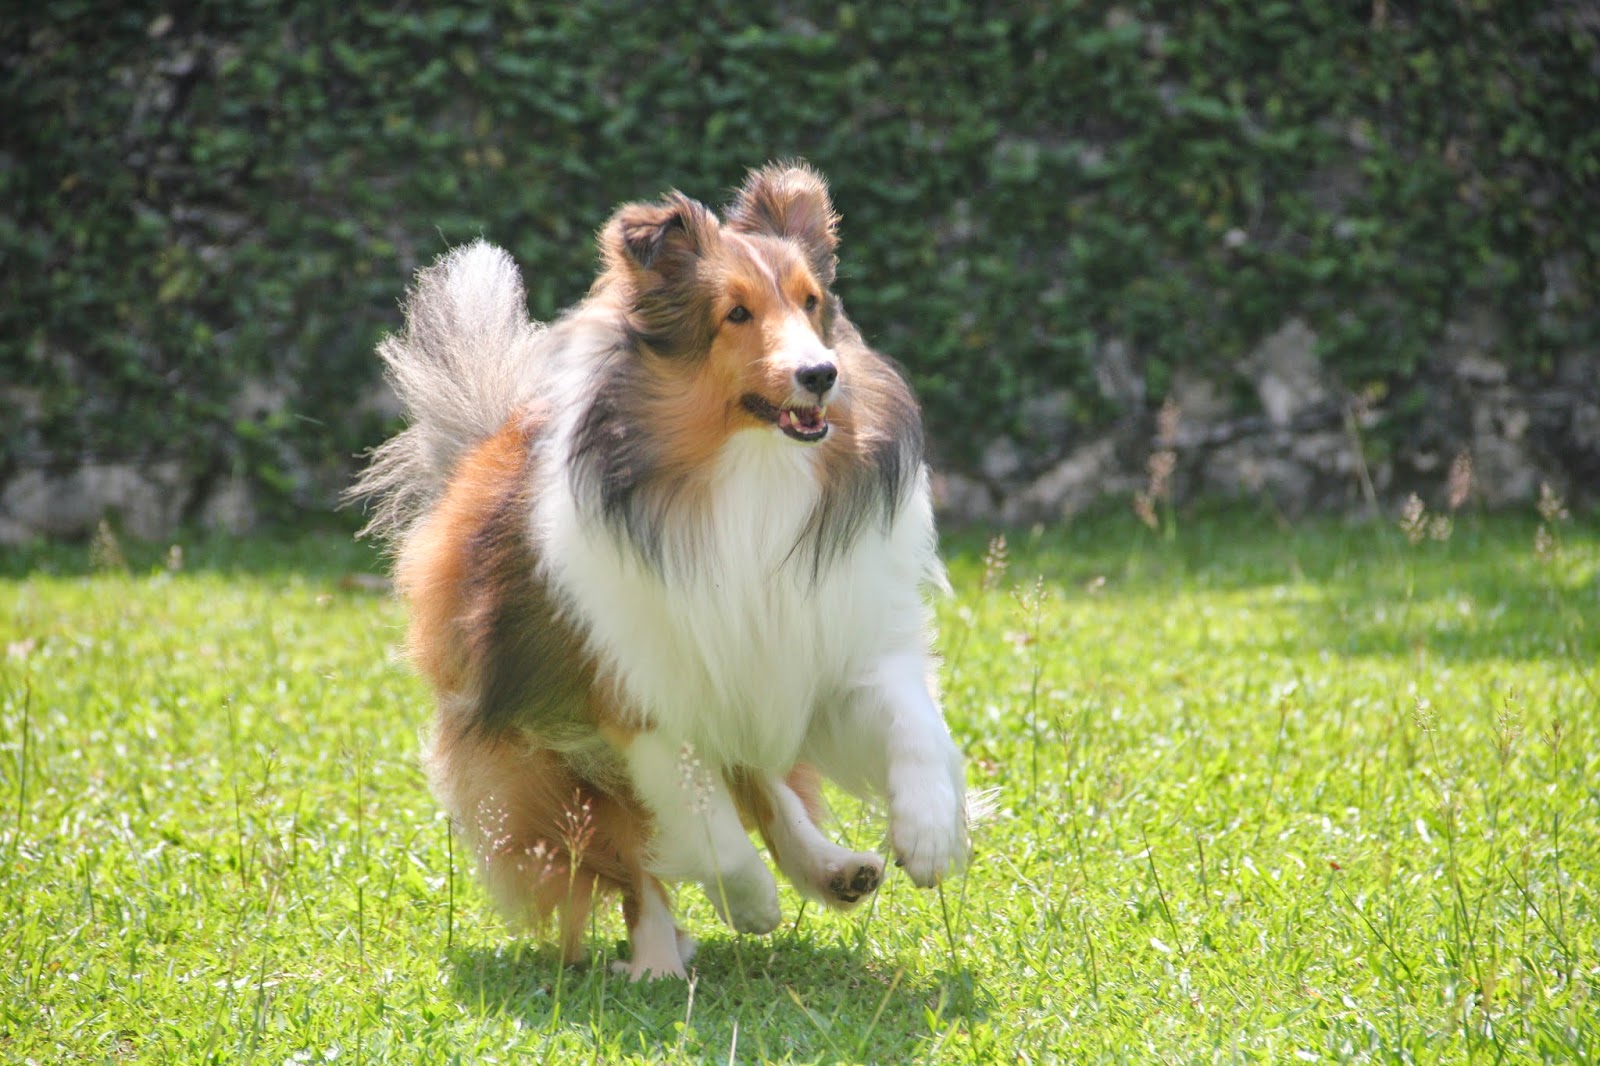
Little Eva is no longer going to be little anymore; she's two months old now and it's time to have ear bracing - 'set' ears. Do I have to set her ears? Will her ears stick out when she's bigger? Will she look not-so-sheltie-like if her ears are not tipped? I know I'll still love her very much whether the ears are tipped or they become big perky ears and I'd been asking myself about it for so many times. However, I do love the expression that the tipped ears give to a sheltie and may be it's because I'm vain too. Anyway, the final decision was we gave the tipped ears a go as long as it was harmless to our precious little Eva.


Before Ear Bracing
A sheltie breeder told us that ear bracing has to be done as soon as the pup touches two months old as the ears take a long time to become the 'required' shape. So, in order to catch the train on time, we ordered the Japanese tape (Yutokuban) online three weeks ago and it arrived just before Eva came to the age of two months old. Very good timing indeed.
My husband and I had done some research on how to brace the ears before we started doing it. Our Rosie also sent us a video link on how to tape the ears in a proper way too. If not with the help from those online tips and the step-by-steps videos, I don't think we could have managed it at last. Well, I should admit that it wasn't easy at all as we're so inexperienced and clumsy; looking at the alcohol swaps, tapes and scissors in front of us and little Eva was wriggling here and there, we were completely lost for a while. It even took us some time to get the tape done as I didn't know what size was the right size for Eva's ears and I had to cut them into the 'right' size : ). Little Eva was so excited while I was preparing everything right in front of her playpen and she might thought she was going to have some fun with us. Finally I got everything ready and I thought I was ready for it. However, when I looked at her ears, 'How?' was the only words. I just remembered that I had to trim the hair from inside ears, but HOW? With scissors, razor, shaver or anything else? I had no idea, not a clue at all. I'd checked it out online and it seemed nobody mentioned how we should handle the hair of the inside ears before we put the tapes on. They just say 'trim excess hair from inside ears and clean inside ear well with...'. Finally, a pair of scissors was what I chose (I was told I should use a razor to shave the hair a few hours later after I taped Eva's ears) and trimmed the hair with my greatest care.
Here's the instruction that we found online and it's the same as the instructions which came together with the tape we bought online.


When the hair was trimmed, I used alcohol swap to clean the inside ears in order to get rid of the dirt of oil. Well, the final stage was to put the tapes on the ears. What a great relief, the ears were taped at last!
My husband and I had done some research on how to brace the ears before we started doing it. Our Rosie also sent us a video link on how to tape the ears in a proper way too. If not with the help from those online tips and the step-by-steps videos, I don't think we could have managed it at last. Well, I should admit that it wasn't easy at all as we're so inexperienced and clumsy; looking at the alcohol swaps, tapes and scissors in front of us and little Eva was wriggling here and there, we were completely lost for a while. It even took us some time to get the tape done as I didn't know what size was the right size for Eva's ears and I had to cut them into the 'right' size : ). Little Eva was so excited while I was preparing everything right in front of her playpen and she might thought she was going to have some fun with us. Finally I got everything ready and I thought I was ready for it. However, when I looked at her ears, 'How?' was the only words. I just remembered that I had to trim the hair from inside ears, but HOW? With scissors, razor, shaver or anything else? I had no idea, not a clue at all. I'd checked it out online and it seemed nobody mentioned how we should handle the hair of the inside ears before we put the tapes on. They just say 'trim excess hair from inside ears and clean inside ear well with...'. Finally, a pair of scissors was what I chose (I was told I should use a razor to shave the hair a few hours later after I taped Eva's ears) and trimmed the hair with my greatest care.
Here's the instruction that we found online and it's the same as the instructions which came together with the tape we bought online.
Bracing Ears: Cut piece of tape to needed length. Trim excess hair from inside ears and clean inside ear well with rubbing alcohol to remove dirt and oils. Cut and fold tape as illustrated in Figure 1. Trim tape if needed. Apply tape to inside of ears as shown in Figure 2. Be careful not to catch hairs underneath tape as these can pull and irritate dog.

Tipping Ears: Cut a piece of tape approximately 2" long. Roll tape sticky side out. Place tape on top part of ear (Figure 3) and fold over, pressing tape to bottom part of ear or to ear brace (described above).
When the hair was trimmed, I used alcohol swap to clean the inside ears in order to get rid of the dirt of oil. Well, the final stage was to put the tapes on the ears. What a great relief, the ears were taped at last!
Here's our little Eva's new look. What do you think? Does it look like it has been taped right?

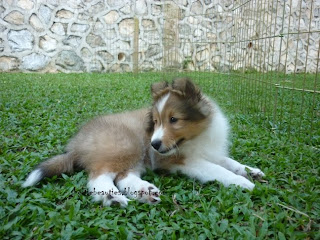


After Ear Bracing